Instagram

Wednesday 16 July 2014

Crazy Neon Squares - Nail Art Tutorial

My nail posts have been quite a rare sight recently. Compared to the two consecutive months of nail art challenges, (did I really do that??), my nails haven't been a priority, although they are always painted!

Some time ago, I received a lovely e-mail from Lisa at nail-art-101 asking if I'd like to do a guest tutorial. Needless to say, I was excited and extremely flattered to be asked. I found it hard choosing something to do for all skill levels, especially as it was for someone else. A gentle nudge from Lisa brought us to stamping......... I'm not sure wether this one or another I submitted will be chosen.

Since we are in the middle of the British summer, I thought neons couldn't really go wrong. All you need is a stamp design (or freehand the design with a nail art pen), various neon polishes and a small detail brush or dotting tool (even a cocktail stick). Begin with a base mani of white which really makes the neon polish pop.


1. Apply black polish to the design plate, I used MoYou Artist Collection 04.

2. Use the scraper to press and sweep across the plate, spreading the polish over the design.


3. Press the stamper onto the design plate to lift the image, then immediately press it onto the nail. Do this for all the nails.

4. Take a blob of polish and put it on a palette. A plastic bag worgs great as you can throw it away after you are done.


5. Select random squares from each nail and begin painting them with your first colour. Complete all the nails.

6. Then continue working on the next colour, then the next, until you have no more white exposed.


Finish by cleaning off the polish on the skin with an angled make up brush and acetone, then brush on some top coat to seal in the design and you're done!

The finished look really does pop in the sunshine, and the method is so much easier and faster than doing the decal method.


Friday 27 June 2014

Fix A Broken Nail : Don't Sit And Cry About It

Weeks of nurturing and love on your nails is a bit of work, so when you break one of your precious talons it can really get you down. In all fairness, they are designed to do that to avoid a major injury. Imagine if you ripped the whole nail off from the nail bed! Ouchy!

I knew I was pushing my luck with these square tips (all natural), as I usually clip off the corners when they get to this length. I was going to be trimming them down a little after removing this polish, then BAM! Off it snapped.

Many options come to mind, like bawl your eyes out for an hour or two, keep it like that and have a freaky shorty, chop them all down and start again, or you can fix it.

You really need to assess the damage. Had it snapped with a bit more on the length then I would have just trimmed down the rest. So here's what I did.


First of all, save that bit of nail. If it's a missile snap, then go look for ground zero and retrieve it. Then gently remove all the polish from the nails and broken tip. This is where you find out if you ripped any skin...... I was lucky this time around.


Polish removed, now get out your best nail glue, and have a pair of tweezers handy. Apply the glue to the nail on your finger and then use the tweezers to place the broken piece back on, lining up exactly where it came off. Ensure that you haven't buffed or filed before or they won't fit back together.

Hold the pieces steady until the glue dries and apply some on the surface along the break, and if you can, underneath the tip of the nail too.

Once this has dried, use a buffer to lightly buff and roughness created during the glue stage.


I use a fibreglass repair kit which cost me roughly £10 online. You can alternatively use the tea bag method from here on out, but this definitely gives a smoother, stronger finish, and should last much longer.

I applied the brush on resin to the nail followed by a spray of activator, and repeated once more. If you purchase a similar kit, follow the instructions given for best result and different systems require different actions.


I cut 2 small pieces of fibreglass to use to support the break. Using my tweezers, I placed a strip across the break to strengthen it. (Ensure it doesn't overlap the side walls.)

Apply the brush on resin to the full nail, followed by a spray of activator. Allow to dry and repeat the resin and activator.

To give it extra strength I repeated the small strip across the break with more fibreglass. Yeah, and the resin and activator.

Cut another, longer strip of fibreglass that will fit the whole nail. Trim off the corners on one end so that the strip won't touch the skin. Apply to the full nail and repeat the resin and activator.


In no time at all you are ready to file down and ragged edges of fibreglass at the tip. No buffing required, as long as you ensure the fibreglass stuck down to the nail properly before applying the resin.

The drying times are literally seconds. Much faster than waiting for a load of nail glue!

Trim off as much dry fibreglass before applying resin, it saves time on finishing.

It is still visible, but much less that a tea bag with nail glue!

It is temporary, and easy to remove by soaking in acetone.

Use non acetone remover on your repaired nail to stop it from melting and fraying!


Can you tell that there's a broken nail under here?


Monday 2 June 2014

MoYou Challenge : Wrapping Up

It totally slipped my mind to keep up with posting my challenge nails. I think I remembered at day 28 and I thought I'd just wait till the end and squeeze them all in. So that's what I've done. If you want to see them a bit closer, you can view them on Instagram with the plate details.

That'll teach me to keep up! My favourite set was the patchwork nails, and they were probably my most popular, but in the end, it was the final set that got me. I loved how they turned out, and it was great to get more than one day out of them with no more challenges to be done. I've had a blast doing the challenge, but after two months of continuous planning and mani changing, I'm taking it at a slower pace...... Until next time.


Wednesday 14 May 2014

MoYou 10k Challenge : 8 Designs In 1 Post

Yes, 8 designs! I guess I should try and keep this short. If you would like to know any details about anything here, just let me know in the comments box. I'm going to get right to it.

Day 8 - Food. I made use of one of my new Barry M Gelly's : Coconut, for the base of my strawberries and cream nails. I also used Princess plates 08 & 10 and Pro 03.

Day 9 - Superheros. Spiderman was my feature here, and another new Barry M Gelly out on show - Damson, it was perfect for this.

Day 10 - Geometric. This was my second attempt, deciding to keep it simple and bold. I used the cross on Roxy 01 for the squares, stamping with Essie - Liquorice.

Day 11 - Cupcakes. Pro XL 07 gave me the stamp for the cupcake which I ever so carefully painted in, matching the wrapper to my other striped nails. Featuring Barry M Silk - Meadow.

Day 12 - OOTD. Houndstooth dress and a red and gold patterned jacket? Looks better as clothing. I used Pricess plates 09 & 10 and Pro XL 07.

Day 13 - Childhood. And once again I looked to my children for inspiration. My youngest daughter loves balloons, so I adopted the stamps to look like this. I used plated 08, 09 & 10 from the Princess collection.

Day 14 - TV Shows. This one is based on Monster High. I modified the stamp designrom Princess plate 10, to look like the logo. There's that Damson from Barry M again, used to stamp over a lighter blue.

Day 15 - Love. It's all hearts and sparkly polish here. I'm loving my new Glam Polish - Coven. Finally managed to get my hands on it. Love it!


That's probably as short as anyone could make a post on 8 different mani's....... Sorry about that. I just find that stamped nails doesn't really need a whole blog post for just one, although I'm pretty pleased with a few of these. And if I'm totally honest, I'm quite enjoying seeing mini collections in a collage like this. If you want to view these individually you'll find them on instagram.


Wednesday 7 May 2014

6 in 1 - Catching Up, Challenge Nails & First Timers

You might recognise the first photo from the finale of the 31 day challenge. It was pure fate that these could be adapted to fit into the MoYou 10k challenge on instagram.

I decided that I would play along and post an NOTD each day I had time and the plates to pull off a mani. So far we've had:
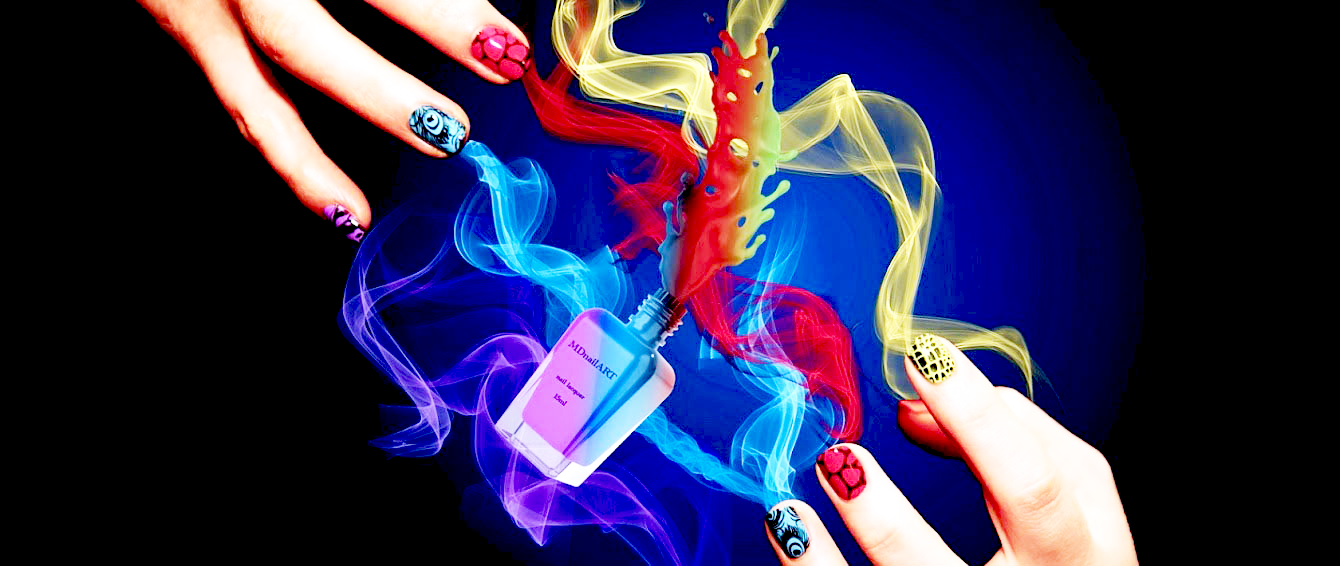
1. Art

2. Nature

3. Animal Print

4. Fantasy

5. Shadows

6. London

7. Red

You'll see I skipped London, as I didn't have anything I could use without being a bit desperate...... I really want the nails to do the talking, otherwise there's no point.

Ok, let's see if I can get all the details down for these 6.


Day 1 - Art

As I mentioned previously, this is a recycled mani from the last challenge I did. All the purples I used are listed in the link.

I felt the mosaic was pretty artistic, so I added some textured stamping with OPI Liquid Sand - Honey Ryder.

Easy peasy, simples! Well the stamping bit was, and that was day 1 out of the way.


Day 2 - Nature

I took advantage of a rare sunny day, and put my holo top coat on. What I forgot was, how difficult holographic polishes were to photograph.

I used Rimmel : Mary Mary Quite Contrary topped with Girly Bits : Hocus Pocus. I then stamped using China Glaze : Astro Hot and MoYou : Mother Nature 01 for the background swirls. Then using the same plate along with Pro 05, and Barry M : Vivid Purple, the butterflies went on top.


Day 3 - Animal Print

I've done my fair share of leopard print and stripes, so I went for the reptile look this time around. I began with a base of Rimmel : Black To Go, and used MoYou : Pro 05 for the scales. What you can;t see in the photo is the multi tone effect by using 3 polishes to stamp with - Revlon : Rich, Barry M : Copper and Collection : Deadly.

I felt that the pattern was still a bit plain and dark, so I got out the acrylic paints to add some...... I don't know what they are.... Dragon claws? Anyway, I think it lifted the design a bit and gave it quite a mythological feel.


Day 4 - Fantasy

While everyone else was cracking out the fairies and unicorns, I took the opportunity to try out the burned paper effect with my pirate nails. It was far easier than I expected, and most certainly my favourite part of this one.

Unfortunately, I didn't keep a log, or write up a tutorial (as was expected - you know who you are), but I will do one in the near future on a full set of nails.


Day 5 - Shadows

Or silhouettes, to be exact. Yes there is a difference!

Due to my previous lack of purples, I had never done a purple gradient, so this chalenge seemed like a good time to do one. It was so pretty on its own! I almost felt like I had ruined it by stamping on it. The glitter was a nice touch, as stars, before putting on my stamps. The polishes I used were :

Rimmel : Ultra Violet & Hot Black To Go

Barry M : Plum & Diamond Glitter

Konad : Black Pearl

MoYou : Pro 7 & 10 and Mother Nature 01


Day 7 - Red

Don't you hate photos that show up the imperfections! Anyhoo, I thought some lovely tulips were in order, as they are still in full bloom here, and it was a bit different from the usual red roses. This was my first ever go at negative space nails on this scale..... and out of all the nails I have seen, ever, I have never seen them done with stamps. Voila!

Super easy, I used MoYou : Pro XL 14 to stamp the tulips onto my clear base coat, with Konad : Black Pearl, and coloured them in using Barry M : Blood Orange. I then used the darker Rimmel : Red Obsession to paint on a block of colour, over the stamps, and finished with a stripe of acrylic black. On clean up, my red was bleeding all over the place and I just couldn't get it off. This should be a lesson to me, "be very careful with red"!

I can't help but feel that I have been neglecting my blog, maybe that's why this turned out a bit long.... yeah, sorry for that. If there are any requests, questions or suggestions, leave me a note or drop me an e-mail, I am always happy to hear what you think, good or bad.


Thursday 1 May 2014

31 Day Challenge : Day 31 : Re-Create Your Favourite

The final day of the challenge is here, and what a full on 31 days it has been. As there were a few of us doing the challenge together, we decided to change up the final day and re-create/copy someone else's. For me this was an easy choice, as the mani I chose was just stunning, and it was something I'd never done before. Bring on the mosaic nails!

+Magali Neuville-Bisceglia (Instagram - Arwen Of The Dark) shared her mosaic nails for Day 6 - Violet, and I fell in love. As soon as I saw them, I knew that was what I wanted to finish off with.


I had to buy some extra purple shades to do this, but I didn't mind as it is a colour I lacked a variety of in my stash.


I used Barry M - Vivid Purple as my main colour, and Models Own - HyperGel White Light, as my mosaic base.

The mosaic was done using :

Models Own - Pukka Purple

Barry M - Vivid Purple, Berry Ice Cream & Bright Purple

H&M - Misty Plum

Rimmel - Ultra Violet

L.A. Colors - Nuclear Energy


I do hope to try this design again in the future, it wasn't nearly as scary as I thought it would be. It's one of those, "just go for it", designs.

Remember to check out everyone else's nails for the challenge today. And if anyone has any tips on HTML code for putting in a thumbnail grid with links, please do drop me a note. I'm hoping to wrap this up nice and neat.


Wednesday 30 April 2014

31 Day Challenge : Day 30 : Inspired By A Tutorial

The moment I saw the Ethereal Dreamcatcher Nails, from Meghan at Will Paint Nails For Food, I fell in love. The rustic, earthy feel of the gradient background really tickles my happyness.

So here is my attempt, after weeks of drooling over Meghan's nails! My background turned out much darker than in the tutorial, but I didn't use any polishes which were the same. Because of the darkness, I decided to make my dreamcatchers lighter. Those dreamcatchers took two tries..... My first attempt I used polish, and I just couldn't get it, so I tried again with acrylic paint.

I began with a base of Revlon - Smoky Canvas, which was much darker than Meghan's base colour. I think in future I will try this with a lighter base.


The gradient was acheived using :

NYC - Lexington Yellow

Rimmel - Orgasm & Aqua Cool

Revlon - Midnight Affair

I used some dilluted Rimmel - Hot Black To Go, to do the border. I used some Seche Restore to dillute.

After painting my dreamcatchers, I topped with HK Girls - Glisten & Glow, then finished with Rimmel Matte Finish.

Please remember to check out what the other girls are doing today.

Last day tomorrow!!!